This setup is a minimal base for getting started. Tested on Ubuntu version 24.04 LTS. It can later be used to create fully automated golden image building pipelines using software like HashiCorp Packer.
Several days of blood, sweat, and tears were required for me to polish that build process consisting of nothing but unknown unknowns.
I acknowledge it may be imperfect, and you’re free to email me.
Contents
Why
The official Ubuntu cloud images are based on ext4. There may be cases when that’s not enough.
At my current workplace, we use Btrfs and ZFS mostly because of their CoW nature, which allows us to manipulate data efficiently.
Both filesystems are great for different types of workload. Where one shines, the other one is not suitable at all.
Rolling out a different fs on a separate disk is also not always a viable option.
In addition to that, the official images simply may lack the specific configurations and/or tools you need in the base.
To save up some time, it’s better to shift customization from provisoning as much as possible, and simply build golden images.
Base Configuration
Create a directory for the project, and place two empty files there: meta-data and user-data. This article assumes the directory is called cloud-init/. Feel free to change that.
Add the following to user-data:
#cloud-config

autoinstall:
  version: 1
All of the yaml code presented in the sections below is supposed to be placed under the autoinstall section of that file.
Custom Mirror Selection
Since you’re likely to deploy your final image to a public cloud provider, they may have their own Ubuntu package mirrors.
To speed up the process of downloading packages on the instances, it’s a good idea to use the provider’s mirrors.
You can specify multiple mirrors, and the first available will be used. I don’t like that approach because I need my mirror to always be the same, on every build.
apt:
  mirror-selection:
    primary:
    - uri: <YOUR MIRROR>

  # This will ensure that all necessary pockets will be used from this repository.
  # Otherwise, if you don't specify that section, things like the security pocket may not be included automatically.
  # At least, that was the case for me.
  #
  # The format below is not the only one that can be used.
  sources_list: |
    deb $PRIMARY $RELEASE           main restricted universe multiverse
    deb $PRIMARY $RELEASE-updates   main restricted universe multiverse
    deb $PRIMARY $RELEASE-security  main restricted universe multiverse
    deb $PRIMARY $RELEASE-backports main restricted universe multiverse
fallback: abortStorage layout and configuration
Thankfully, there’s official support for ZFS in the Ubuntu installer.
Because of that, I was able to find out what the default layout for ZFS looks like by first installing the system using it.
If I didn’t have access to it, I doubt I’d be able to come up with a decent configuration for ZFS that quickly.
Subiquity curtin stores the disk layout here: /var/log/installer/curtin-install/subiquity-partitioning.conf. You can look that file up on the installed system.
The default layout is so generic that it’s actually not suitable for our kind of workload. Especially the fact that there are two partitions that make up two separate ZFS pools: bpool for boot and rpool for the system.
Creating a microscopic pool on a different partition for /boot data and enabling a bunch of compatibility features for GRUB seems like overkill.
So, I just went with a good old ext4 partition for /boot.
The custom layout I came up with:
Swap is not enabled by default. You should create it manually for each instance using cloud-init. I made that decision in order not to tie it to ZFS, or to not restrict it to a small partition.
Some cloud providers have ephemeral disks that are perfectly suitable for that purpose.
There are only two datasets by default: for / and /var/log. You can set a quota for logs.
On the deployed cloud instances, I just create more datasets for the workload. For example, /var/lib/conatinerd and /var/lib/docker for a Docker installation.
storage:
  swap:
    size: 0
  config:
  - id: disk0
    type: disk
    ptable: gpt
    match:
      size: largest
    wipe: superblock-recursive
    preserve: false

  - id: efi-part
    type: partition
    device: disk0
    size: 600M
    flag: boot
    preserve: false
    grub_device: true

  - id: efi-format
    type: format
    fstype: fat32
    volume: efi-part
    preserve: false

  - id: efi-mount
    type: mount
    device: efi-format
    path: /boot/efi

  - id: boot-part
    type: partition
    device: disk0
    size: 2G
    preserve: false

  - id: boot-format
    type: format
    fstype: ext4
    volume: boot-part
    preserve: false

  - id: boot-mount
    type: mount
    device: boot-format
    path: /boot

  - id: root-part
    type: partition
    device: disk0
    size: -1
    preserve: false

  - id: system
    type: zpool
    pool: system
    vdevs:
    - root-part
    mountpoint: /
    pool_properties:
      autotrim: on
      autoexpand: on
      version: null # Use the default `zpool create` ZFS version.
    fs_properties:
      atime: on
      devices: off
      acltype: posixacl
      compression: lz4
      dnodesize: auto
      sync: standard
      xattr: sa

  - id: system-root
    type: zfs
    pool: system
    volume: root
    properties:
      canmount: 'on'
      mountpoint: /

  - id: system-log
    type: zfs
    pool: system
    volume: log
    properties:
      canmount: 'on'
mountpoint: /var/logUser Identity
In the next section, we’ll create a default user for the golden image.
It will have a predefined password so that the system can be administered even if cloud-init fails to run.
First, generate a password hash. Most likely, you have OpenSSL installed on your system, so the example uses it.
$
openssl passwd -6Add the following code to the autoinstall config.
identity:
  username: user
  hostname: ubuntu-cloud-template
  password: '$6$tnLEHtInd6cmDHLy$LcFh/J8bmQbQswXyXbII7DB1M.c.CXUDqro8ZQy/B8Rft1YR1oZuTqpmcfHtLQJPsNhGzFRLGTStGSSg2lrC01' # The hash must be quoted.
Autoinstall Identity Documentation
Install Additional Software
In the snippet below, we ensure the OpenSSH server, any other packages, and package updates are installed.
In the ssh section, options like authorized-keys are intentionally omitted because the installer will create a configuration file in /etc/cloud. This file, and many others, will be cleared later, so SSH settings won’t be preserved.
In the packages section, make sure to install guest utilities for integration with your target cloud provider.
ssh:
  install-server: true
packages:
- jq
- yq
- tree
- traceroute
- dnsutils
- ncdu
- mc
- qemu-guest-agent
- open-vm-tools
- tmux
updates: allCustomize the System
After the system is installed, we need to ensure it is tuned to our needs and is ready to be stored as a golden image.
All of the steps in this section are meant to be placed under late-commands.
late-commands:Autoinstall Late Commands Documentation
Cleanup Cloud-Init Leftovers
The directory creation hack is needed in order to work around some legacy cloud-init logic.
Otherwise, the cloud-init clean command won’t execute half of the clean procedures and will exit early without an error signal.
Probably it’s a bug, and the guard against already clean artifacts should be placed at the top or at the bottom. I’m not sure.
- curtin in-target -- install -dm 755 /var/lib/cloud
- curtin in-target -- cloud-init clean --machine-id --seed --logs --configs all

- curtin in-target -- /bin/bash -c 'install -dm 755 /var/lib/cloud/scripts/per-{boot,instance}'
Set a Custom Default User
A lot of cloud-init configurations assume a default user.
Each operating system that supports cloud-init has its own predefined default user.
For Ubuntu, it’s ubuntu.
We don’t need that since we already have a user created under the identity section of the autoinstall configuration.
Otherwise, the ubuntu user will be created when, e.g., the cloud provider adds SSH keys to the server.
- |
  curtin in-target -- tee /etc/cloud/cloud.cfg.d/999999-main.cfg << 'END'
  system_info:
    default_user:
      name: user
      sudo: ALL=(ALL) ALL
      lock_passwd: false
  END
Enable Automatic Disk Expansion
The official modules growpart and resize_rootfs have bugs related to ZFS. Because of that, I had to do some nasty black magic.
See https://github.com/canonical/cloud-init/issues/5788.
- |
  curtin in-target -- tee /etc/cloud/cloud.cfg.d/99-zpool-expand-fix.cfg << 'END'
  # Buggy functionality.
  # /var/lib/cloud/scripts/per-boot/99-zpool-expand-fix.sh and zpool autoexpand are used instead.
  growpart:
    mode: off
  resize_rootfs: off
- |
  curtin in-target -- tee /var/lib/cloud/scripts/per-boot/99-zpool-expand-fix.sh << 'END'
  #!/bin/sh

  set -e

  # growpart and resize_rootfs are disabled.
  # This fix and zpool autoexpand are used instead.
  zpool status system -LP \
  | grep '^\s*/dev/' \
  | awk '{ print $1 }' \
  | xargs lsblk -pno pkname,partn \
  | xargs -I{} sh -c '
    growpart -N {}
    if [ $? -eq 0 ]
      then growpart {}
    else
      true
    fi
  '
  END
- curtin in-target -- chmod 754 /var/lib/cloud/scripts/per-boot/99-zpool-expand-fix.sh
Ensure ZFS Pool Cache is Clean
ZFS pool cache contains some settings and disk paths. It’s also copied to initramfs in order to speed up the process of disk search during boot.
ZFS also searches for disks without cache, if it can’t find them there.
As of the time writing this article, curtin doesn’t allow you to specify the method of disk identification.
ZFS uses /dev/disk/by-id. I’ve tried to override that behavior using ZPOOL_IMPORT_PATH without any success.
Since disk IDs may change between different machines and hypervisors, it makes sense to ensure the cache is clean.
- curtin in-target -- zpool set cachefile=none system
- |
  curtin in-target -- tee /var/lib/cloud/scripts/per-instance/99-zpool-set-cache.sh << 'END'
  #!/bin/sh
  zpool set cachefile=/etc/zfs/zpool.cache system
  END
- curtin in-target -- chmod 754 /var/lib/cloud/scripts/per-instance/99-zpool-set-cache.sh
This option won’t work on its own. Later, after we finish customizing the system, we’ll update initramfs.
Also, the next section is related to this one.
Update Initramfs on First Boot
Some operations like zpool set cache script in the previous section may require that. /var/lib/cloud scripts are always executed before runcmd.
If you need to add some functionality that requires initramfs to be updated, name the script in a way that places it before this one.
- |
  curtin in-target -- tee /var/lib/cloud/scripts/per-instance/999999-update-initramfs.sh << 'END'
  #!/bin/sh
  update-initramfs -uk all
  END
- curtin in-target -- chmod 754 /var/lib/cloud/scripts/per-instance/999999-update-initramfs.sh
Configure ARC Cache
If you run memory intensive software on a server, tune the ARC cache, and make sure you use swap.
There are a lot of online resources that can help you pick the right sizing.
- |
  curtin in-target -- tee /etc/modprobe.d/99-zfs.conf << END
  # Max value is 1 GB.
  # The instance RAM should not be less than 2 GB.
  options zfs zfs_arc_max=$((1 * 1024 * 1024 * 1024))
  END
In order to override that value, use write_files on the first boot of the instance. Create a file with a name that sorts it after the file /etc/modprobe.d/99-zfs.conf.
Don’t forget to also change the ARC value at runtime by writing to /sys/module/zfs/parameters/zfs_arc_max. You can use runcmd for that.
For example:
write_files:
- path: /etc/modprobe.d/999-zfs-override.conf
  permissions: '0644'
  content: |
    options zfs zfs_arc_max=2147483648

runcmd:
- echo 2147483648 | tee /sys/module/zfs/parameters/zfs_arc_max
Override OpenSSH Configuration
- |
  curtin in-target -- tee /etc/ssh/sshd_config.d/10-custom.conf << 'END'
  DenyUsers ubuntu # In case the default distro user is created.
  PermitRootLogin no
  PasswordAuthentication no
  KbdInteractiveAuthentication no
  X11Forwarding no
  END
Configure the Console Port
- >
  curtin in-target --
  sed -i
  -e '/^\s*GRUB_CMDLINE_LINUX=/d'
  -e '/^\s*GRUB_TERMINAL=/d'
  -e '/^\s*GRUB_SERIAL_COMMAND=/d'
  /etc/default/grub
- |
  curtin in-target -- tee -a /etc/default/grub << 'END'
  GRUB_TERMINAL="console serial"
  GRUB_SERIAL_COMMAND="serial --speed=11520"
  GRUB_CMDLINE_LINUX="console=tty0 console=ttyS0,115200"
  END
- curtin in-target -- systemctl enable serial-getty@ttyS0
Final Touches
Clean apt leftovers, update GRUB configuration and initramfs.
- curtin in-target -- apt autoremove -y
- curtin in-target -- apt clean

- curtin in-target -- update-grub
- curtin in-target -- update-initramfs -uk all
Add the shutdown section.
shutdown: poweroffBuild the Golden Image
Now, when the configuration is ready, all we need to do is create a VM and start the installation process.
Create a Cloud Config Drive
Create an ISO disk image with a cidata label.
I use macOS, so this example is based on hdiutil. On other Unix-like operating systems, you can use genisoimage.
$
hdiutil makehybrid -iso -joliet -default-volume-name cidata -o seed.iso cloud-init/Install the System
Attach the generated ISO image to a new VM alongside the Ubuntu installation ISO. Make sure the VM is in the UEFI mode with secure boot disabled.

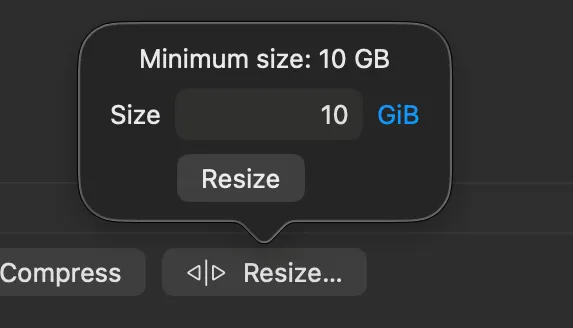
Create a new 10 GB disk for the system.
Now, start the VM. When the bootloader menu shows up, hit e, and then add autoinstall to the line that specifies how to load the kernel. Hit Ctrl + X to boot.
From now on, you don’t have to do anything until the VM powers off.
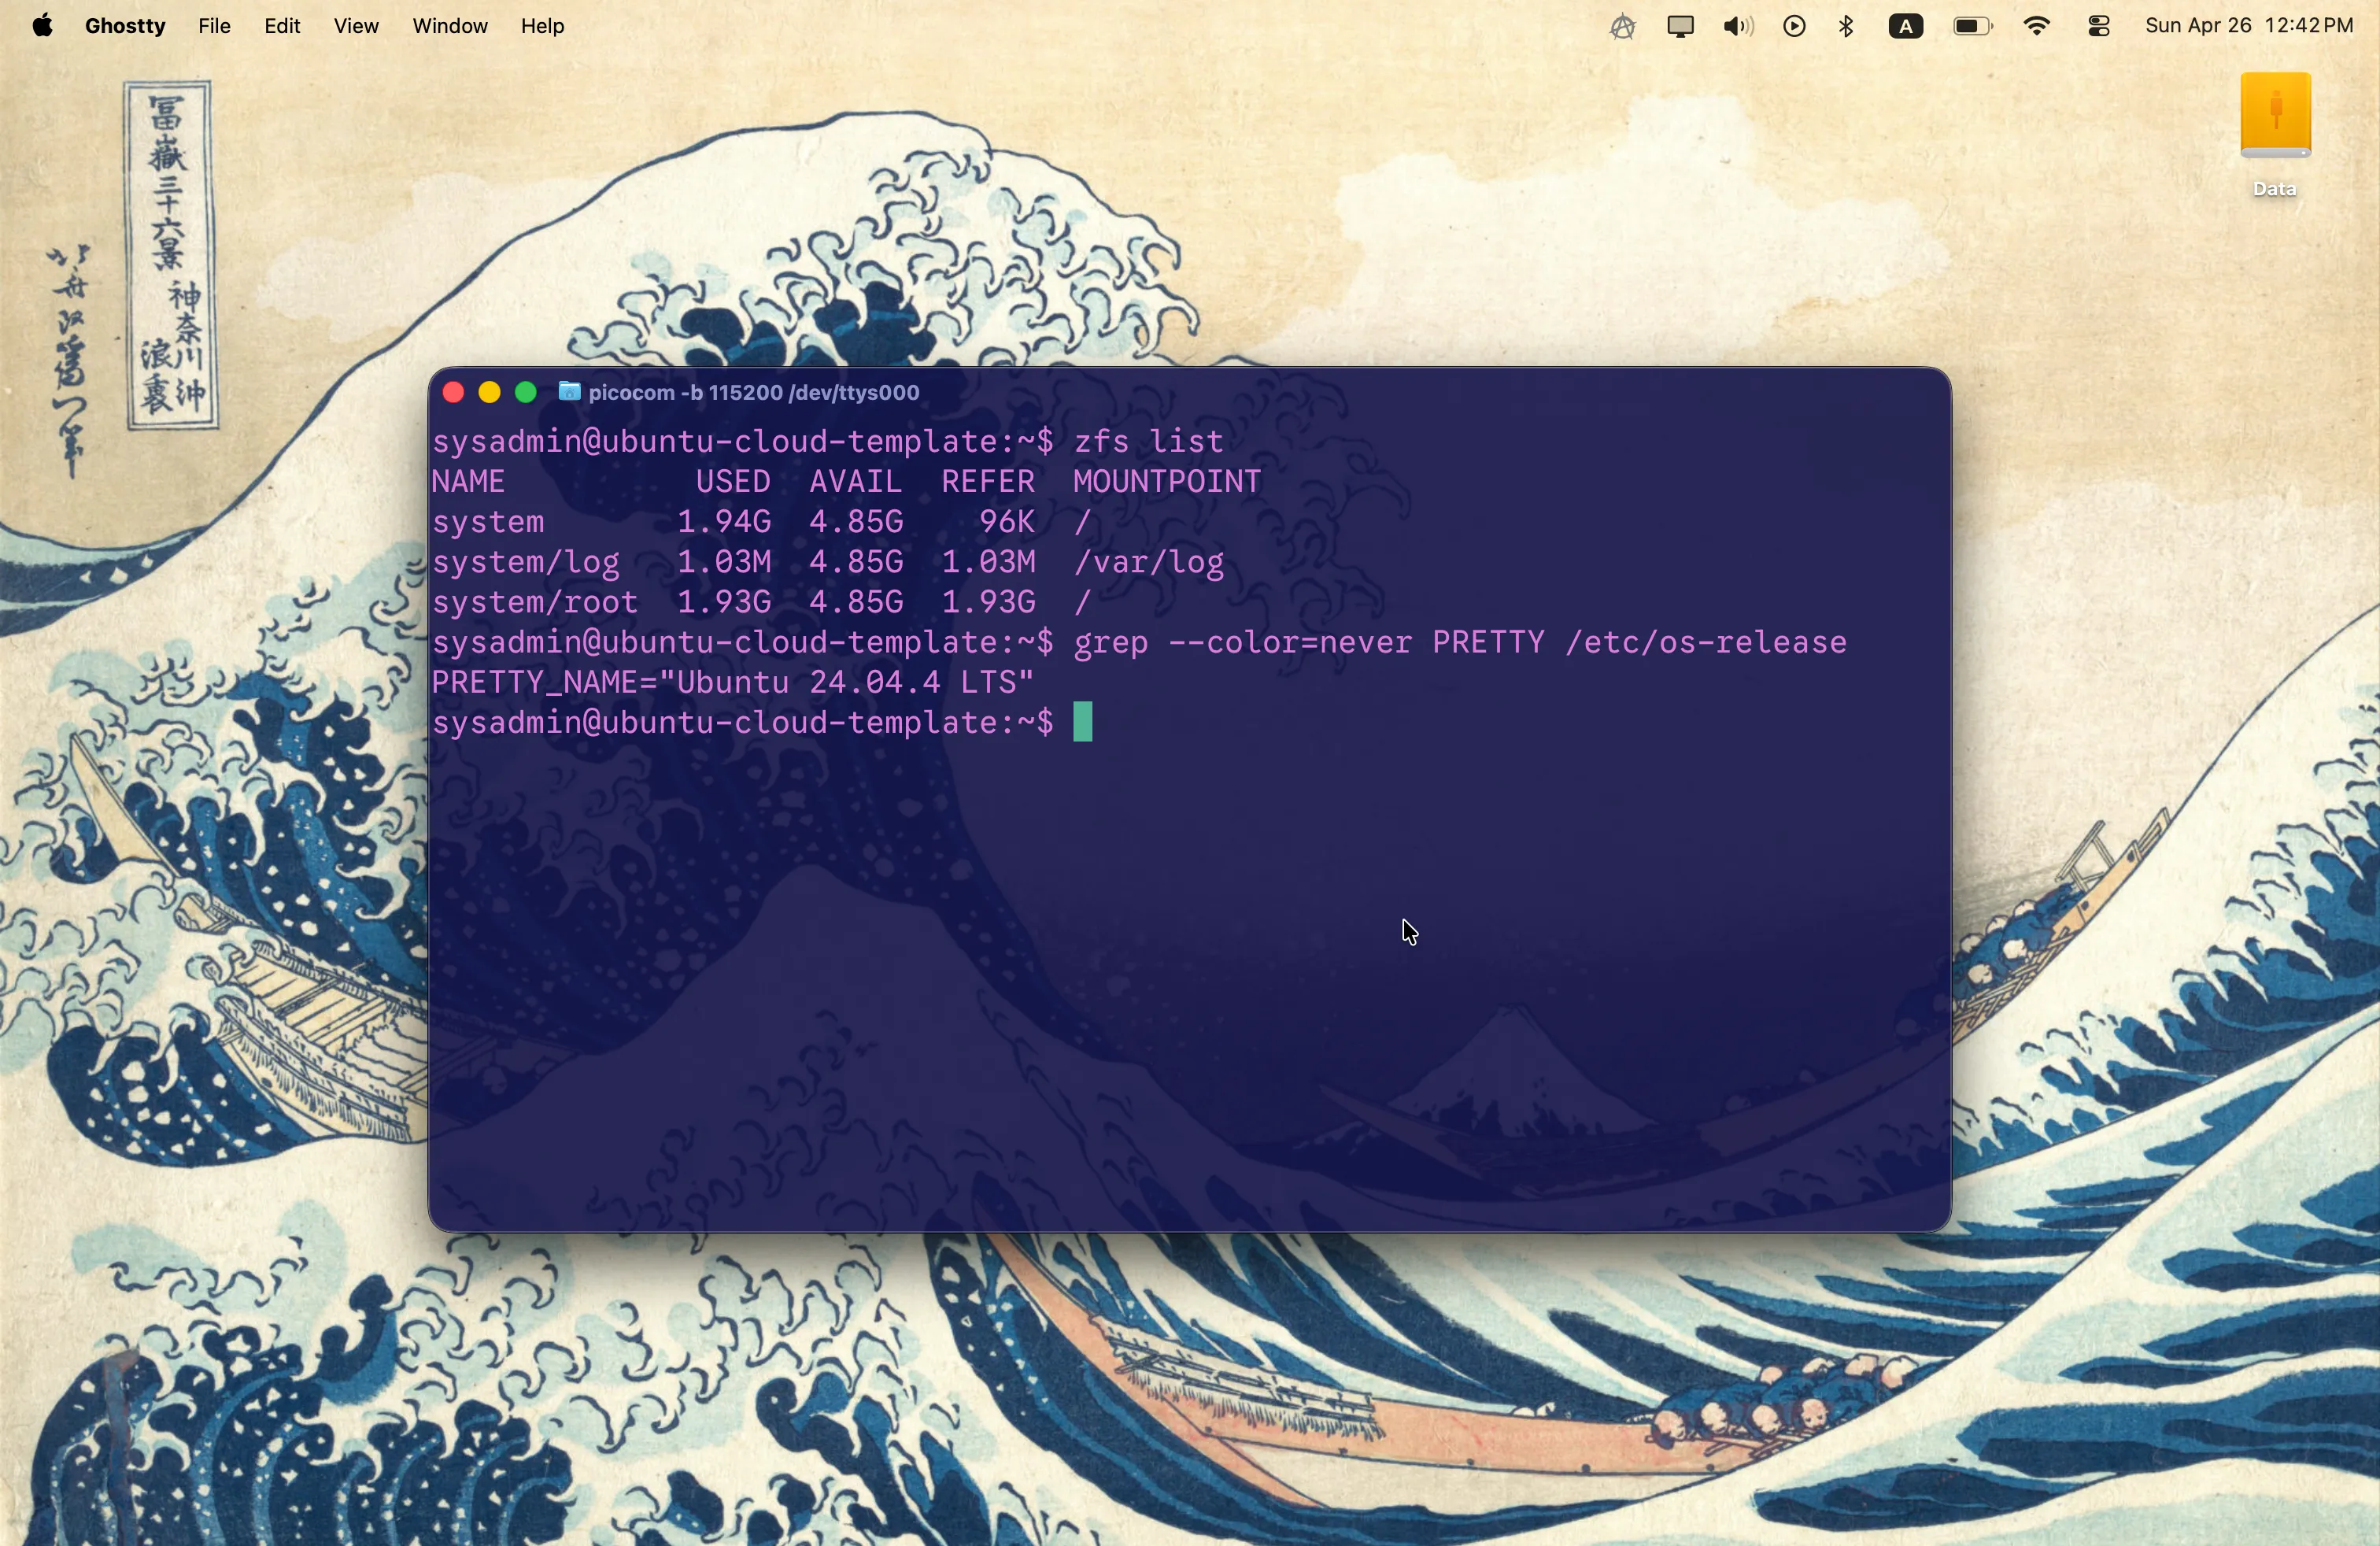
The Result
Now you have a VM that can be converted to a golden image or a VM template.
Simply export its disk image and upload to your cloud provider using an appropriate format.
Make sure you never boot this original local VM as is, since it will instantiate cloud-init. Create clones.
If you are going to create a new instance based on it locally, attach a cloud config drive — even with empty user-data, or else cloud-init may not initialize.